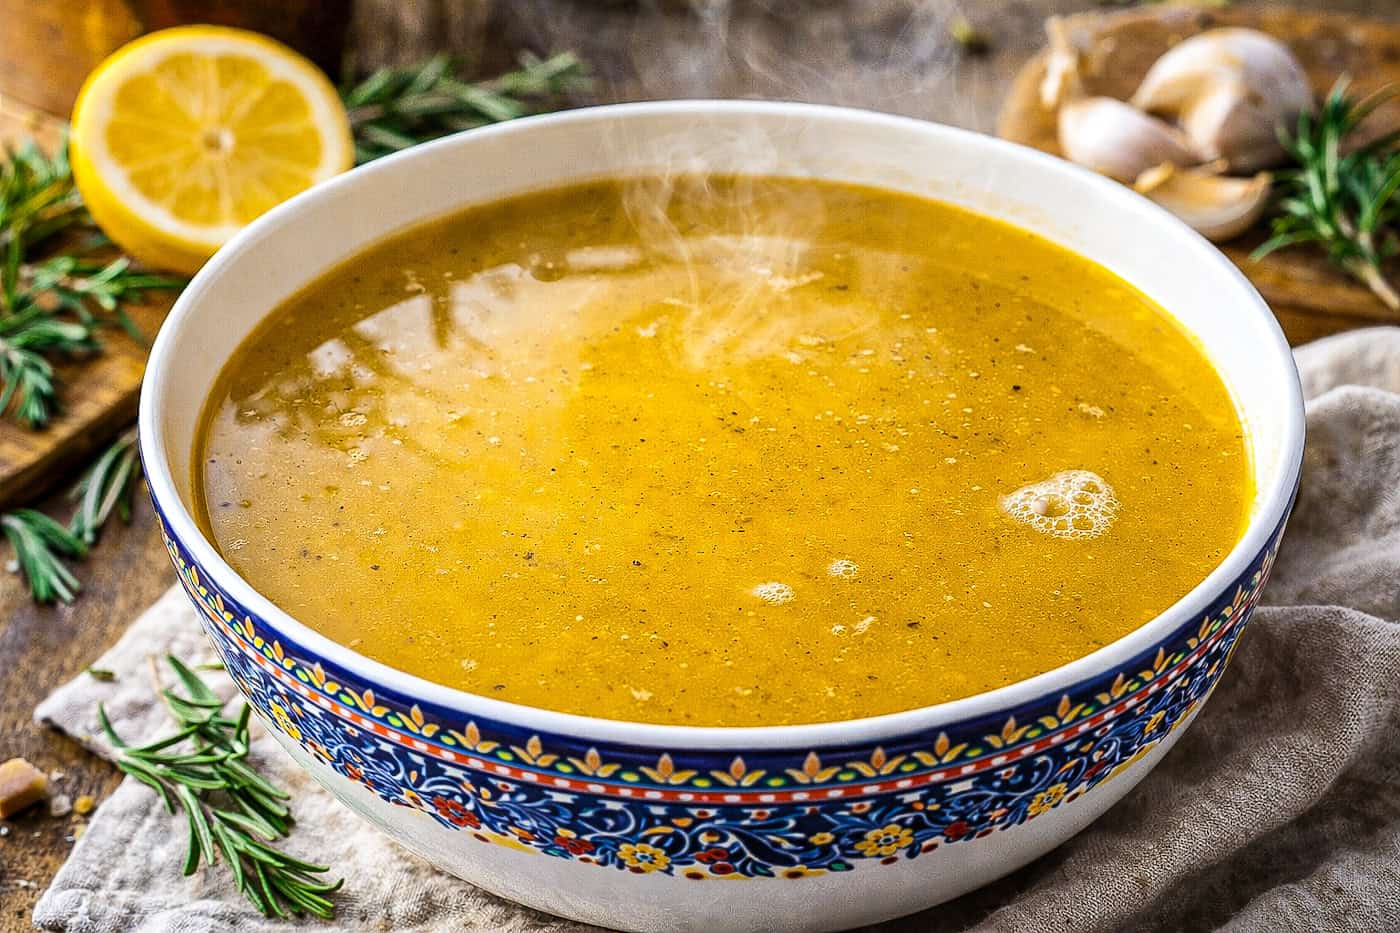
Homemade chicken broth is one of those kitchen basics I never really understood until I made it myself. Suddenly, everything tasted better, soups, grains, even a quick mug on a tired afternoon. This broth is savory, naturally rich in collagen, and endlessly useful. Sometimes I sip it straight from a mug, sometimes it’s the backbone of a soup, and sometimes it just waits patiently in the freezer for a day when I need a little comfort.
This isn’t really a recipe; it’s more of a kitchen ritual. I toss everything in the pot, bring it up to a gentle boil, then turn the heat down until the broth just barely simmers. Tiny bubbles, nothing dramatic. Some days I let it go for an hour, other days I forget about it and come back two hours later. It’s just a slow simmer, a handful of aromatics, and a little patience. What you get is a broth that tastes like comfort and a little bit of sunshine.
Why This Recipe Works
After roasting a chicken, I make a point of saving every last bit: the pan juices, the drippings, even those stubborn browned bits clinging to the roasting pan. All of it goes into the pot. What comes out is a Homemade Chicken Broth that’s simple, restorative, and unmistakably Mediterranean, thanks to a handful of lemons, garlic, and peppercorns.
This broth is all about the magic that happens when you let bones and veggies hang out together for a while. No preservatives, no mystery ingredients, just real food, doing its thing. It’s the kind of homemade that makes you wonder why you ever bought the boxed stuff.
Meal Prep Friendly
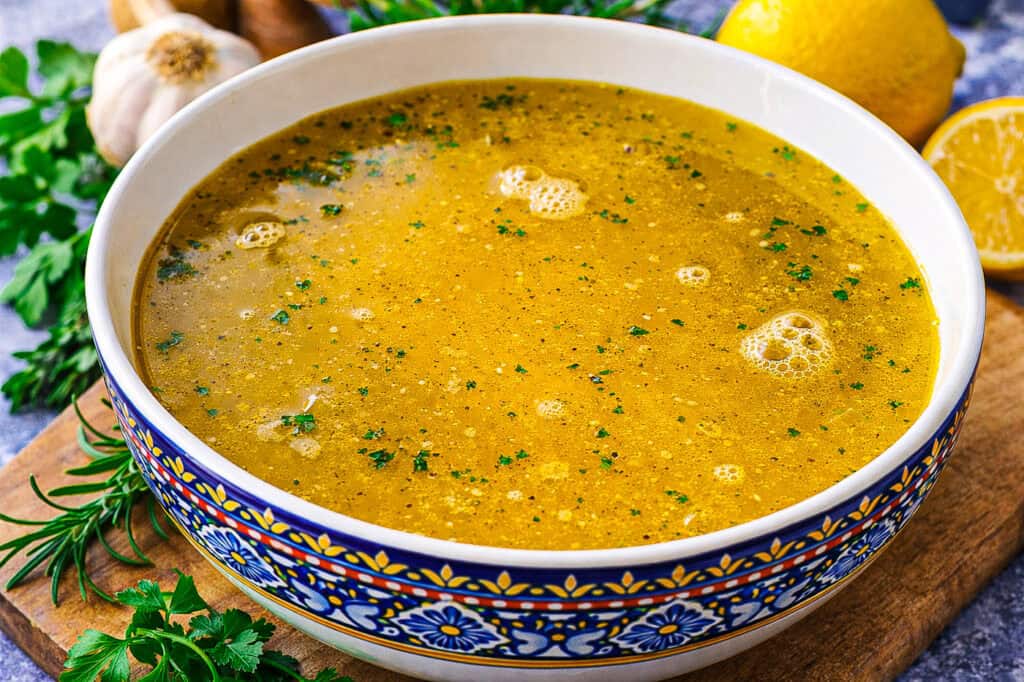
Homemade Chicken Broth is one of those meal-prep moves that makes you feel like you’ve got your life together, even if you’re still in pajamas at noon. It freezes beautifully, reheats in a flash, and quietly supports a dozen different meals. Make a batch on Sunday, and you’ll have a base for soups, a cozy drink, or a secret weapon for quick weeknight dinners.
My Favorite Pairing Suggestions
If you’re looking for something to use your homemade broth with, try it with my tender pot roast or when cooking the farro in my Mediterranean chicken bowl, or throw it in the chicken sausage and orzo recipe.
Why You’ll Love this Chicken Broth
- Customizable: adjust herbs, aromatics, or richness.
- Deep Flavor: slow simmering creates a broth that tastes layered and luxurious
- Nutrient Rich: collagen, minerals, and gelatin from homemade broth.
- Budget Friendly: uses a leftover chicken carcass and pantry staples.
- Freezer-Friendly: Make one batch to enjoy later.
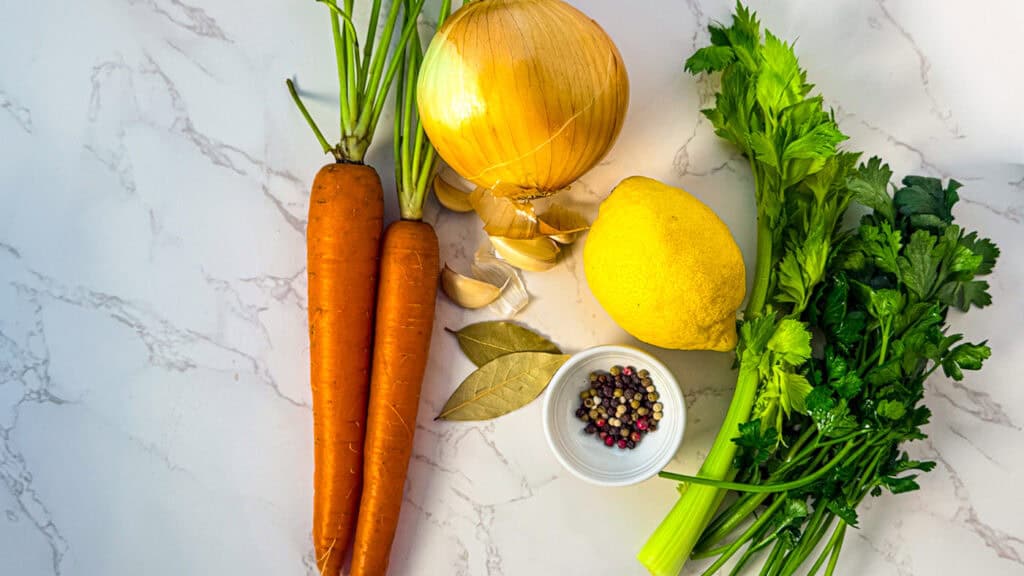
Ingredients Notes & Smart Swaps
What Goes In and Why It Works
Onion: Onion builds a savory flavor base and adds body to the broth. If cooked with the skins on, it can give the broth a deep, rich, golden color.
Carrots: Carrots balance the robust flavor of the onions by adding natural sweetness. They also help build a deeper, more flavorful base.
Celery: Celery adds a fresh, slightly peppery, green aromatic profile. It balances the sweetness of the carrots and the savoriness of the onions.
Garlic: Garlic adds a deep, savory umami flavor that balances the rich, earthy taste of the roasted chicken bones.
Lemon: Lemons add brightness and help round out the broth’s flavor.
Bay Leaves: Bay leaves add a subtle herbal depth and mellow the broth’s rich savoriness.
Peppercorns: Peppercorns add a nuanced heat and a subtle savory note.
Parsley: Enhances the broth’s flavor with a bright, peppery finish and a fresh note.
Substitutions for your Chicken Broth
Onions: For each medium onion, use 1 large leek (white and light green parts only), 2 large shallots, 4 scallions, or 1 tablespoon onion powder.
Carrots: Replace each medium carrot with 1 medium parsnip or half a medium sweet potato (chopped). Parsnips mimic the natural sweetness and texture of carrots, while sweet potatoes add a similar sweetness.
Celery: For every 2 celery ribs, use 1 small fennel bulb (chopped), a generous handful of bok choy stems, or 1/2 cup parsley stems. Fennel adds a similarly crisp, sweet flavor base.
Garlic: Substitute 2 cloves of garlic with 1 teaspoon garlic powder or 4 thin slices of fresh ginger. Ginger will give the broth a different flavor profile.
Bay Leaves: Swap each bay leaf with 1/2 teaspoon of dried thyme or oregano
Lemons: Replace each lemon with 1 tablespoon apple cider vinegar or 2 tablespoons white wine. Either will add acidity to the broth.
How to Make the Chicken Broth
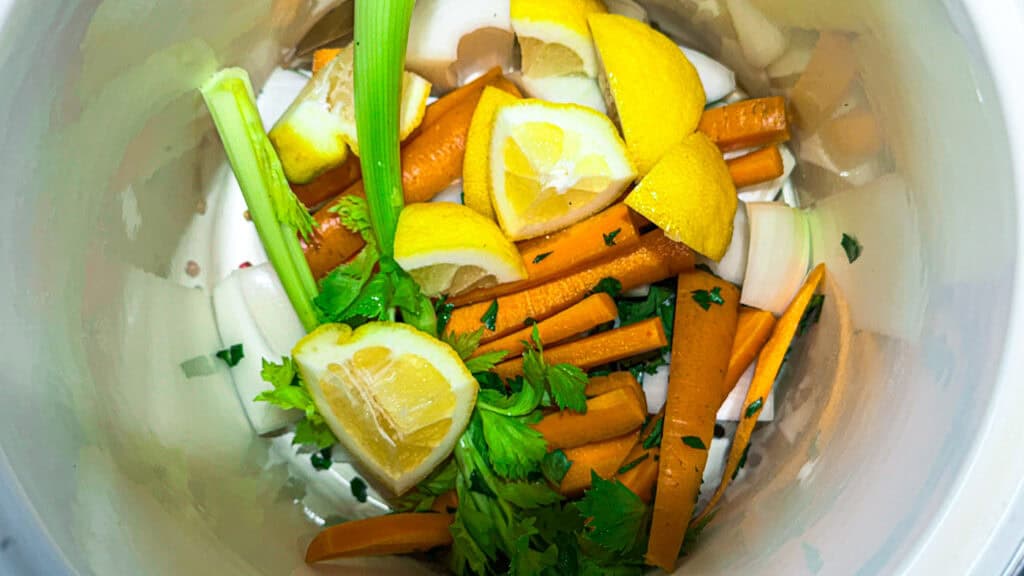
Place the chicken carcass in a large pot. Add onion, carrots, celery, garlic, lemon slices, bay leaves, peppercorns, and herbs.
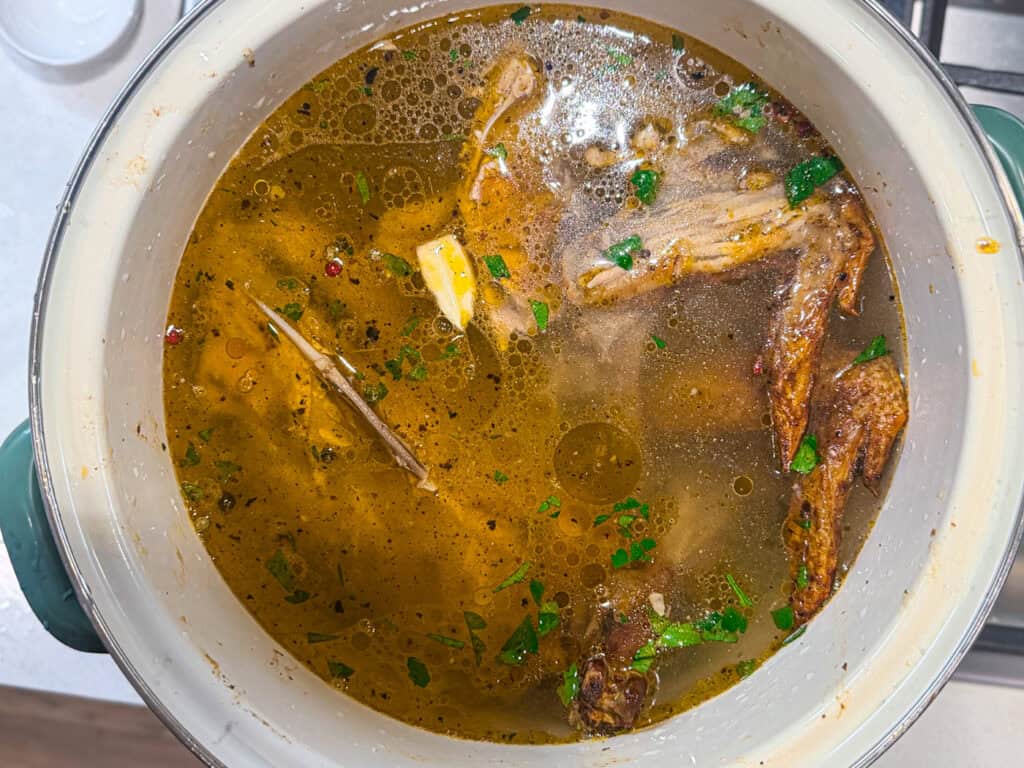
Pour in enough water to cover everything by about 1 inch.
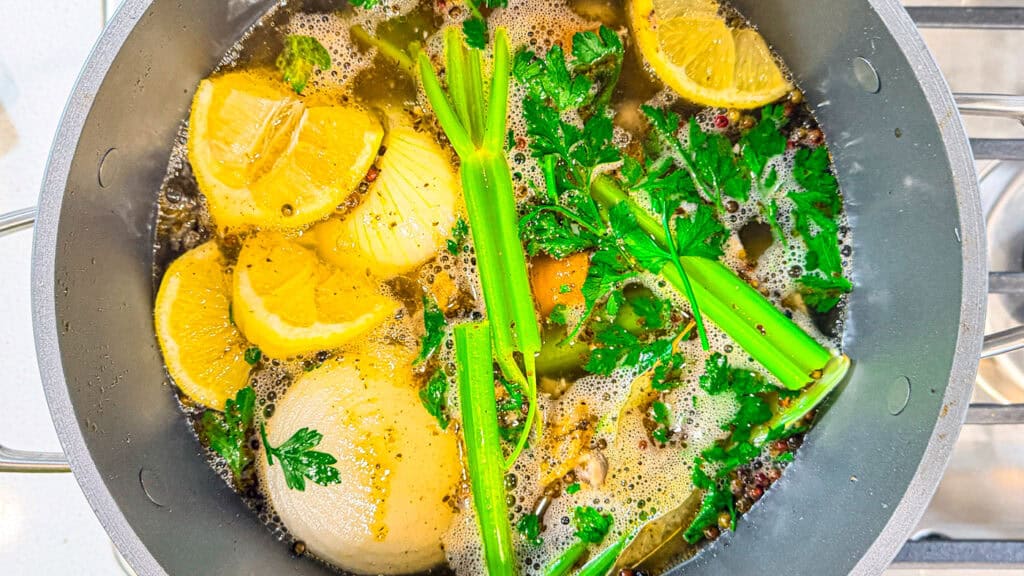
Bring to a boil, then immediately reduce to a low simmer. Skim any foam that rises. Let it simmer uncovered for 2 to 3 hours.
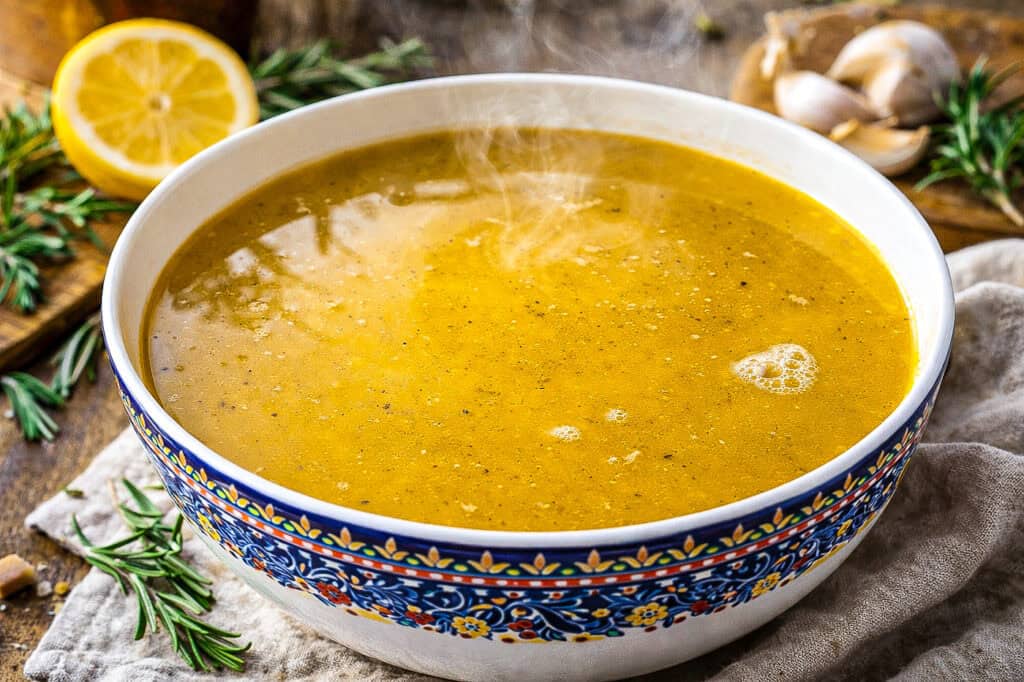
Remove the large bones with tongs, then strain the broth through a fine strainer into a heat-safe bowl or jar. Add salt to taste after straining. Let the broth cool completely before refrigerating or freezing.

Homemade Chicken Broth
Equipment
- 1 Medium mixing bowl
- 1 Fine vegetable strainer
- Freezer bags or silicone souper trays
Ingredients
- 20 ounces chicken bones bones, skin, flavor bits
- 8 cups water or enough to cover by 1 inch
- 1 onion halved
- 2 carrots chopped
- 2 celery stalks
- 4 cloves garlic smashed
- 1 lemon quartered
- 2 bay leaves
- 1 tsp peppercorns
- 1 bunch parsley chopped
Instructions
- Place the 20 ounces chicken bones, 1 onion, 2 carrots, 2 celery stalks , 4 cloves garlic, 1 lemon, 2 bay leaves, 1 tsp peppercorns, and 1 bunch parsley, into a pot.
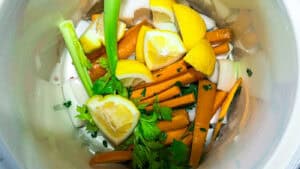
- Pour in 8 cups water or enough to cover everything by about 1 inch.

- Bring to a boil, then immediately reduce to a low simmer. Skim any foam that rises. Let it simmer uncovered for 2 -3 hours.
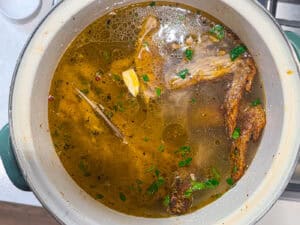
- Remove large bones with tongs, then pour the broth through a fine strainer into a heat-safe bowl or jar. Add salt to taste only after straining. Cool completely. Refrigerate up to 5 days, or freeze up to 3 months.
Notes
- Can be refrigerated up to 5 days.
- Freeze for up to 6 months.
Nutrition
Frequently Asked Questions
Frequently Asked Questions